Skip to content
Back to your program

Extension Sensitive · Phase 3 · Strength & Resilience

Session 44

Week 9 · Day 4 · Mobility day · 6 exercises

Before you start

Red Flags: When to Stop and Seek Medical Care

Most back pain is manageable with the right approach. But there are specific symptoms that require immediate medical attention. These are non-negotiable. If you experience any of the following, see a doctor:

• New bladder or bowel problems (difficulty controlling either) • Numbness around the saddle/groin area • Rapidly worsening leg weakness • Unexplained fever, chills, or weight loss • Severe pain after a significant trauma • Feeling physically unsafe

These are rare, but they're serious. Everything else in this program assumes that red flags are not present. If any of these show up at any point, pause the program and get in-person care.

Every session has a “Does this hurt?” button. Tap it if something doesn’t feel right.

This educational content does not constitute medical advice. For diagnosis or treatment, please consult a clinician.

Walking: 30 min

Also walk on rest days at the same duration

Today’s exercises

Some soreness during exercise is normal. Sharp, escalating pain is not.

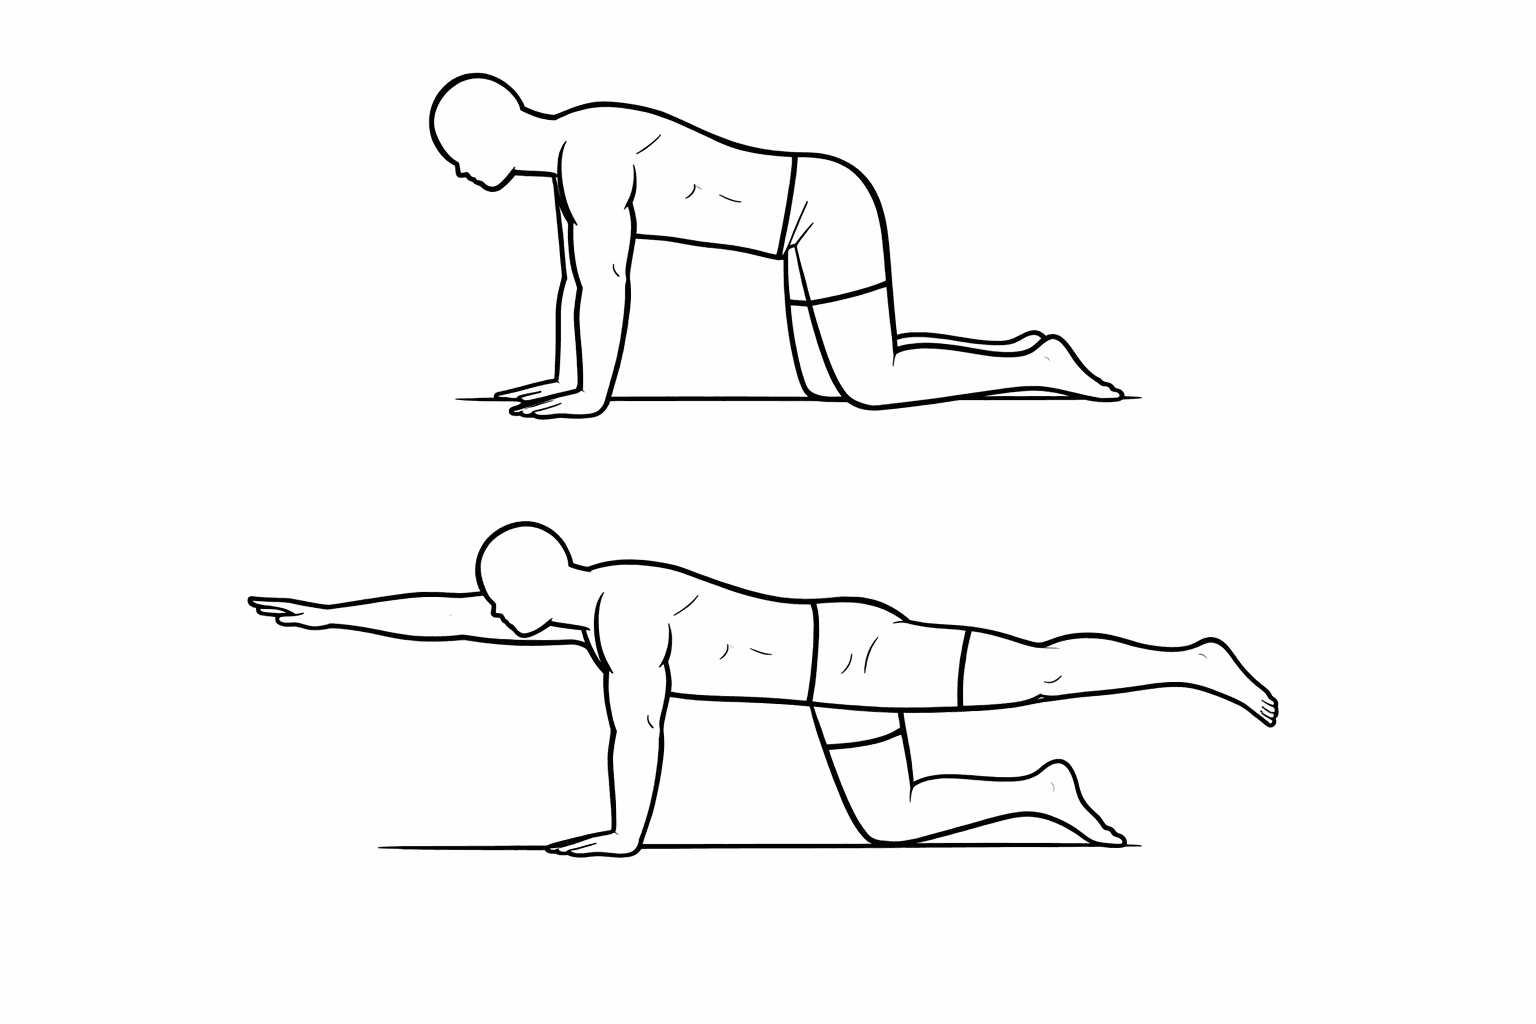
  1. Bird Dog

    Exercise 1

    Bird Dog

    1-2 × 3/side, light holds

    Keep the groove: neutral spine, don't sag into extension

    How to do it
    1. 1Start on hands and knees with your knees directly below your hips and hands below shoulders.
    2. 2Breathe in and brace your core, then slowly extend one arm forward and the opposite leg back without letting your low back sag or twist (the raised arm and leg should be parallel with the floor). Hold for the prescribed time in the extended position, then return and switch sides.

    Why this exercise

    Life is basically 'keep your trunk stable while a limb does something.' Bird dogs trains that skill. Another favourite of Dr. Stuart McGill's and the final exercise of his 'big 3'.

    Make it easier

    • Arm-only reach
    • Leg-only reach (toe slide back)
    • Shorter holds

    Make it harder

    • Longer holds and more repetitions
    • Slower tempo (3-5 seconds out, 3-5 back)
    • Increase the width of your hands and knees on the floor (the width of your base)
  2. Curl-up

    Exercise 2

    Curl-up

    1-2 sets, light
    How to do it
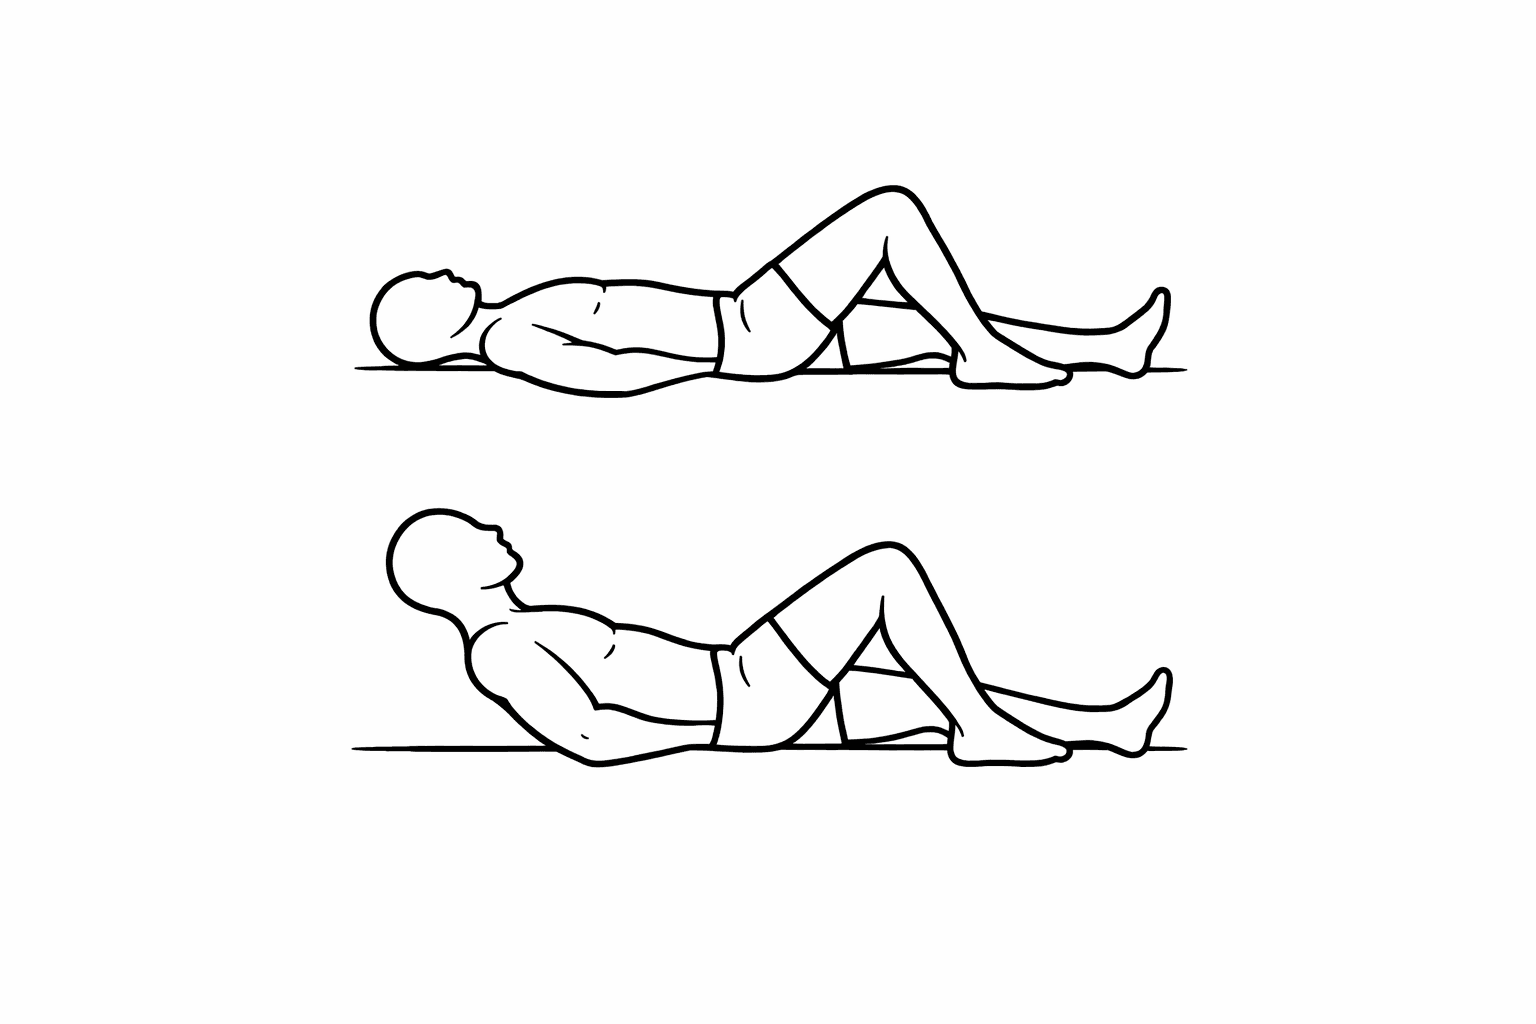
    1. 1Lie on your back with one knee bent and the other leg straight, hands gently under your low back to keep a small natural arch.
    2. 2Breathe in to expand your belly and brace your core lightly as if someone is about to poke your belly, then lift your head, shoulders, and upper back just a few centimetres off the floor without curling all the way up.
    3. 3Hold the curl-up for the prescribed time, then slowly lower and repeat as directed.

    Why this exercise

    This modified curl-up was popularized by Dr. Stuart McGill. It teaches you to brace and create support around your low back while the hands tucked underneath stop your spine from flexing.

    Make it easier

    • Shorten the range of your curl-up (barely lift your shoulders from the floor)
    • Shorter holds/fewer reps
    • Rest longer between reps

    Make it harder

    • Longer holds
    • Increase the range of motion of your curl-up (lift shoulders a little further) without performing a full sit-up
    • Graduate to the front plank (start on your knees if needed)
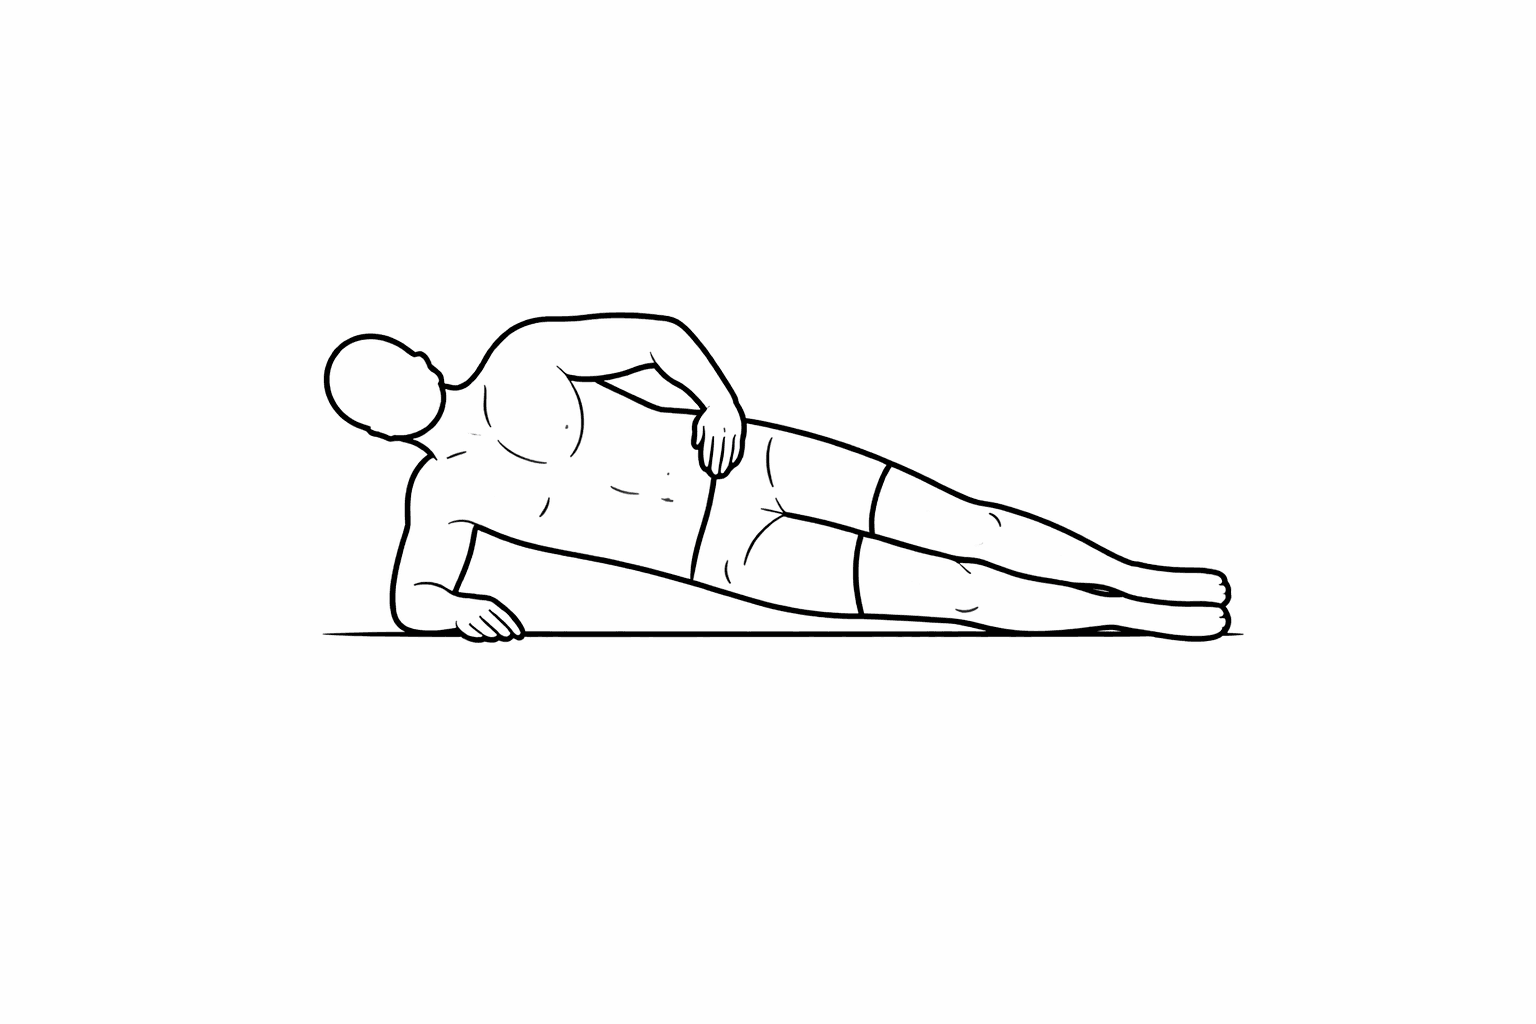
  3. Side Plank (from feet)

    Exercise 3

    Side Plank (from feet)

    1-2 holds/side, light
    How to do it
    1. 1Lie on your side with your legs straight, elbow under your shoulder, and body in a straight line from elbow to shoulders.
    2. 2Lightly brace, then lift your hips so your body forms a straight line; hold for the prescribed time, breathing steadily, then lower with control and repeat on both sides.

    Why this exercise

    Same idea as the knees version, just more difficult due to the longer lever from being on your feet instead of your knees! This is the middle rung of the side-plank ladder.

    Make it easier

    • Back to knees version
    • Stagger feet for a wider base
    • Shorter holds with perfect alignment

    Make it harder

    • Longer holds
    • Lift your top leg a few inches and hold it (abduction) while you brace
    • Add resistance (a weight or object) onto your side while you hold
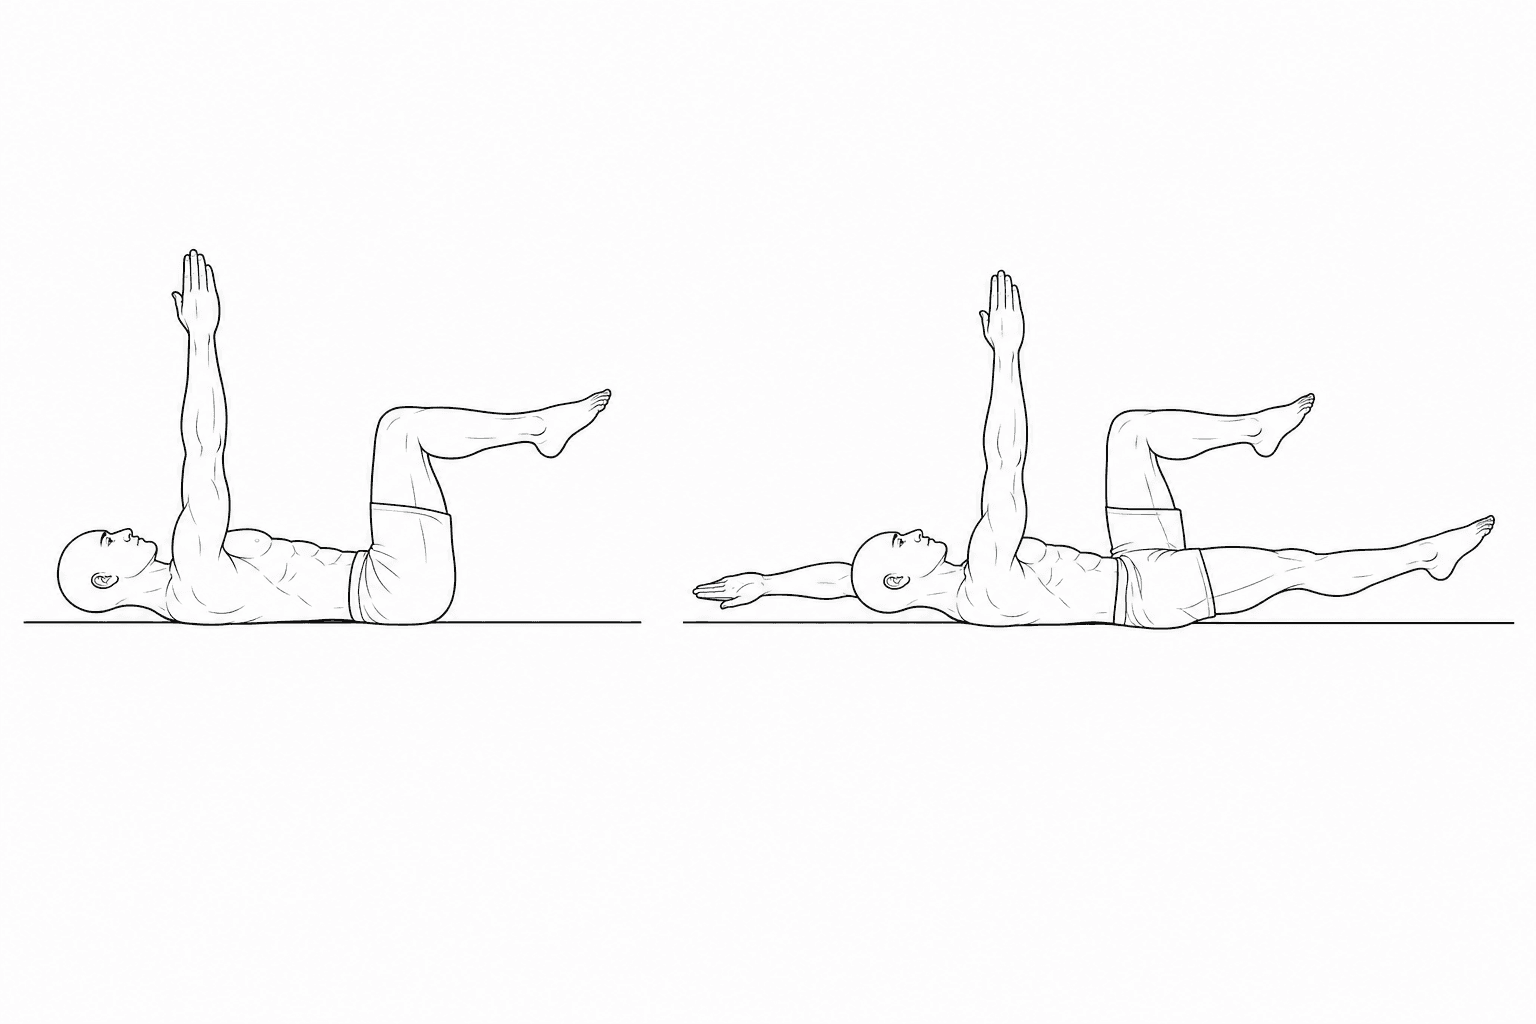
  4. Dead bug

    Exercise 4

    Dead bug

    1-2 × 6/side

    Anti-extension core: keep the low back gently flat

    How to do it
    1. 1Lie on your back with your arms reaching straight up toward the ceiling and your hips and knees bent to 90 degrees, so your shins are parallel to the floor.
    2. 2Gently flatten your low back toward the floor and brace your core, holding that contact the whole time.
    3. 3Slowly lower one arm overhead and the opposite leg toward the floor, going only as far as you can while keeping your low back flat.
    4. 4Return to the start with control and repeat on the other side, breathing steadily and moving slowly throughout.

    Why this exercise

    The dead bug trains your core to lock your spine in place while your arms and legs move, without loading your back. It is the anti-arch counterpart to the bird dog.

    Make it easier

    • Move only the legs, or only the arms
    • Shorten the range (lower the limb part-way)
    • Fewer reps

    Make it harder

    • Standard dead bug (lower one arm and the opposite leg, then return)
    • Same movement with a 3-second pause at full extension before returning
    • More reps once your low back stays flat the whole set
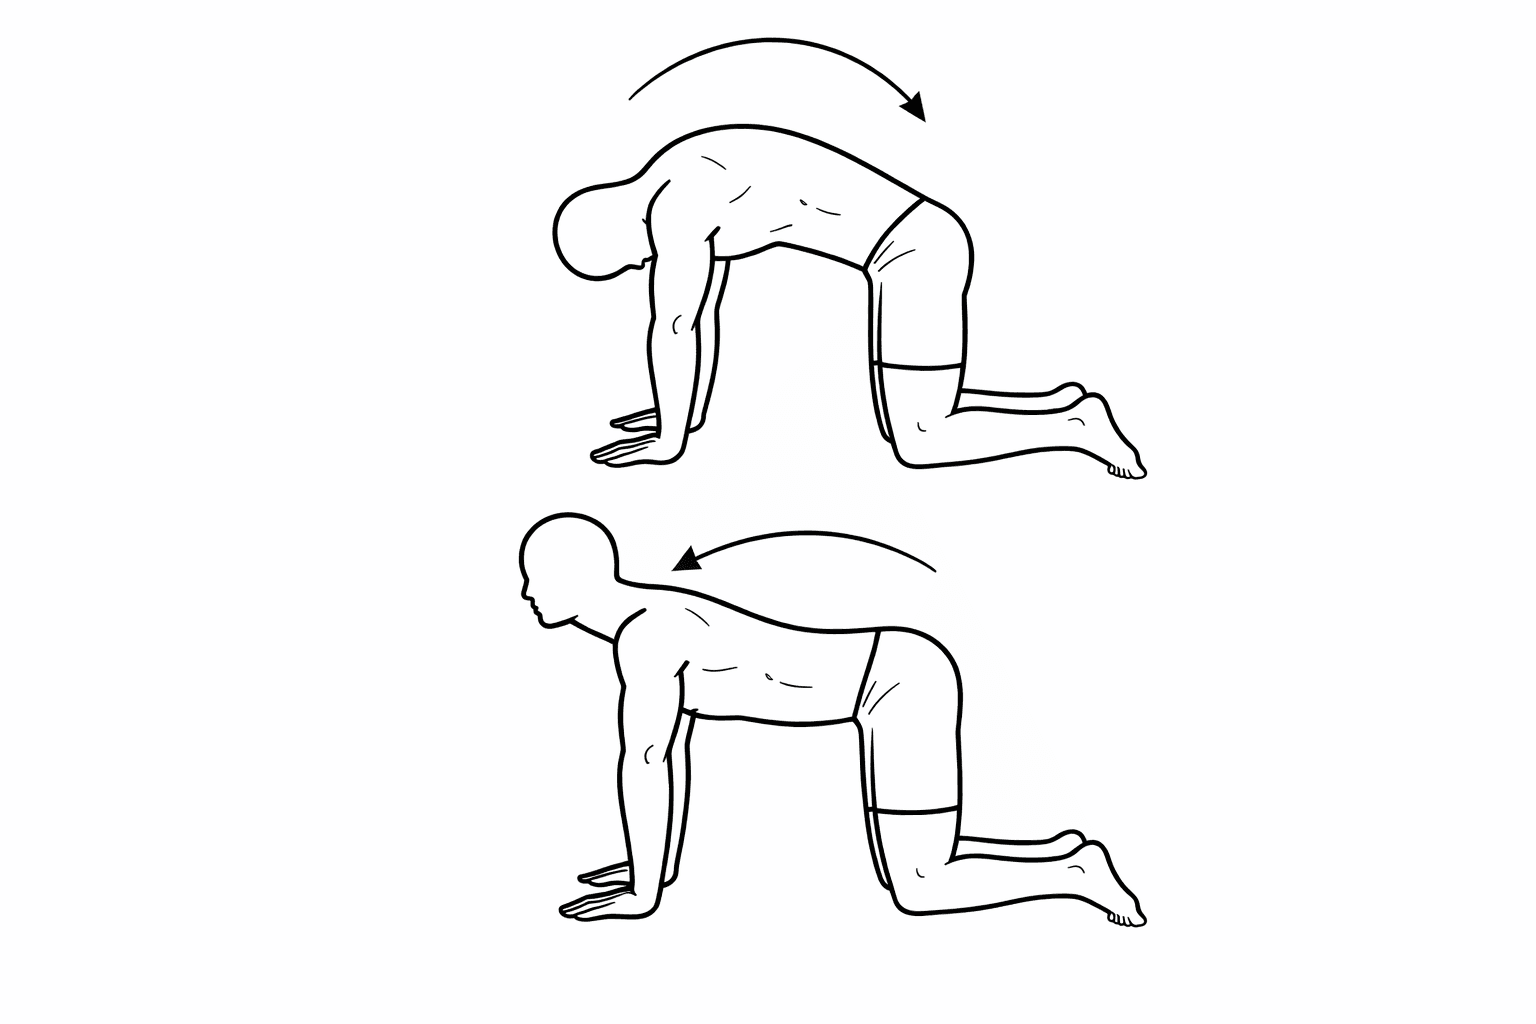
  5. Gentle mid-range cat-cow

    Exercise 5

    Gentle mid-range cat-cow

    1 × 5-8 reps

    Favour the flexion (cat) side, mid-range. Do NOT extend into cow

    How to do it
    1. 1Start on your hands and knees with your hands under your shoulders and knees under your hips.
    2. 2Gently round your back up toward the ceiling (like an angry cat), staying in a comfortable mid-range rather than pushing into strong end-range. Only extend until you feel mild stiffening and then do not pass that range.
    3. 3Then slowly let your back sag slightly toward the floor (cow position), again staying in a mild, comfortable range.
    4. 4Move smoothly between these two positions for the prescribed number of repetitions, keeping your breathing relaxed and easy.
    5. 5Slow and controlled. Do not extend and arch aggressively and do not continue through painful motion.

    Why this exercise

    Motion can be medicine. Mid-range cat-cow helps reduce stiffness and reintroduce comfortable movement without cranking into end-range, which is where a lot of people get into trouble. This gentle exercise is intended to decrease stiffness and liberate motion - not to test how far you can round your back in each direction. In fact, that's the opposite of what we want to do. This exercise should be performed carefully and not immediately after waking up. Performing this exercise to the 'end range' in either flexion or extension can elicit pain for those suffering from back pain.

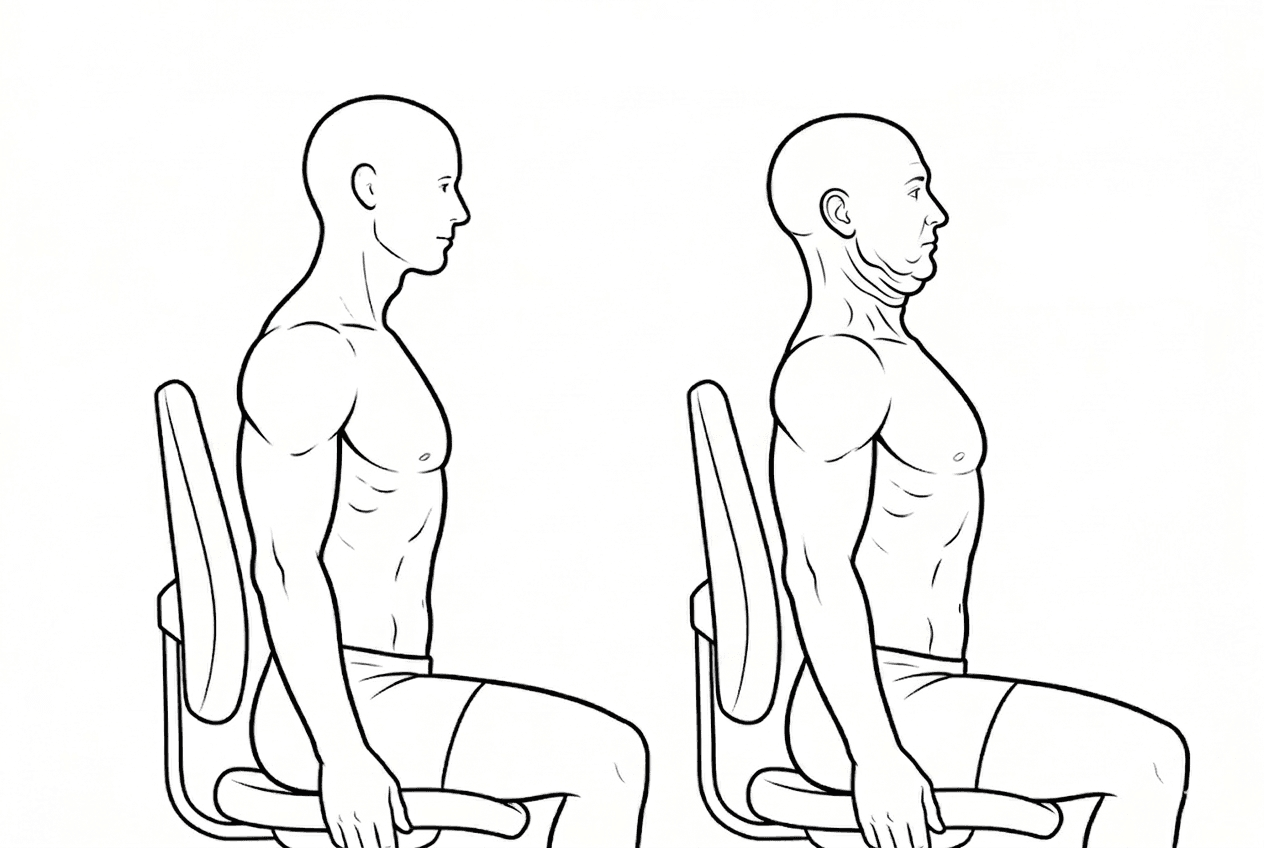
  6. Chin tucks (sitting or standing)

    Exercise 6

    Chin tucks (sitting or standing)

    2 × 8 reps, 8s hold
    How to do it
    1. 1Sit or stand tall with your shoulders relaxed and your eyes looking straight ahead.
    2. 2Gently draw your chin straight back as if making a "double chin," keeping your head level (do not tilt up or down).
    3. 3You should feel a mild stretch or activation at the base of your skull and the front of your neck, not pain.
    4. 4Hold briefly for the prescribed time, then relax and repeat for the recommended repetitions.

    Why this exercise

    Modern life is basically a chin-forward endurance sport. We are sitting at desks, staring at screens...then we go home and stare at more screens while slouching on the couch. Chin tucks help retrain neck flexors while stretching the posterior extensors. This helps correct a forward neck posture that most of us are guilty of. Get ready to show your double chin.

    Make it easier

    • Smaller movement (gentle glide back)
    • Shorter holds
    • Do it lying down (often easier to feel correctly)

    Make it harder

    • Longer holds / more reps
    • Add it into posture breaks (set-based habit)
Optional relief techniquesas needed

Give each of these a try if you haven’t already. Whichever ones become your favourites, do them as desired for extra relief.

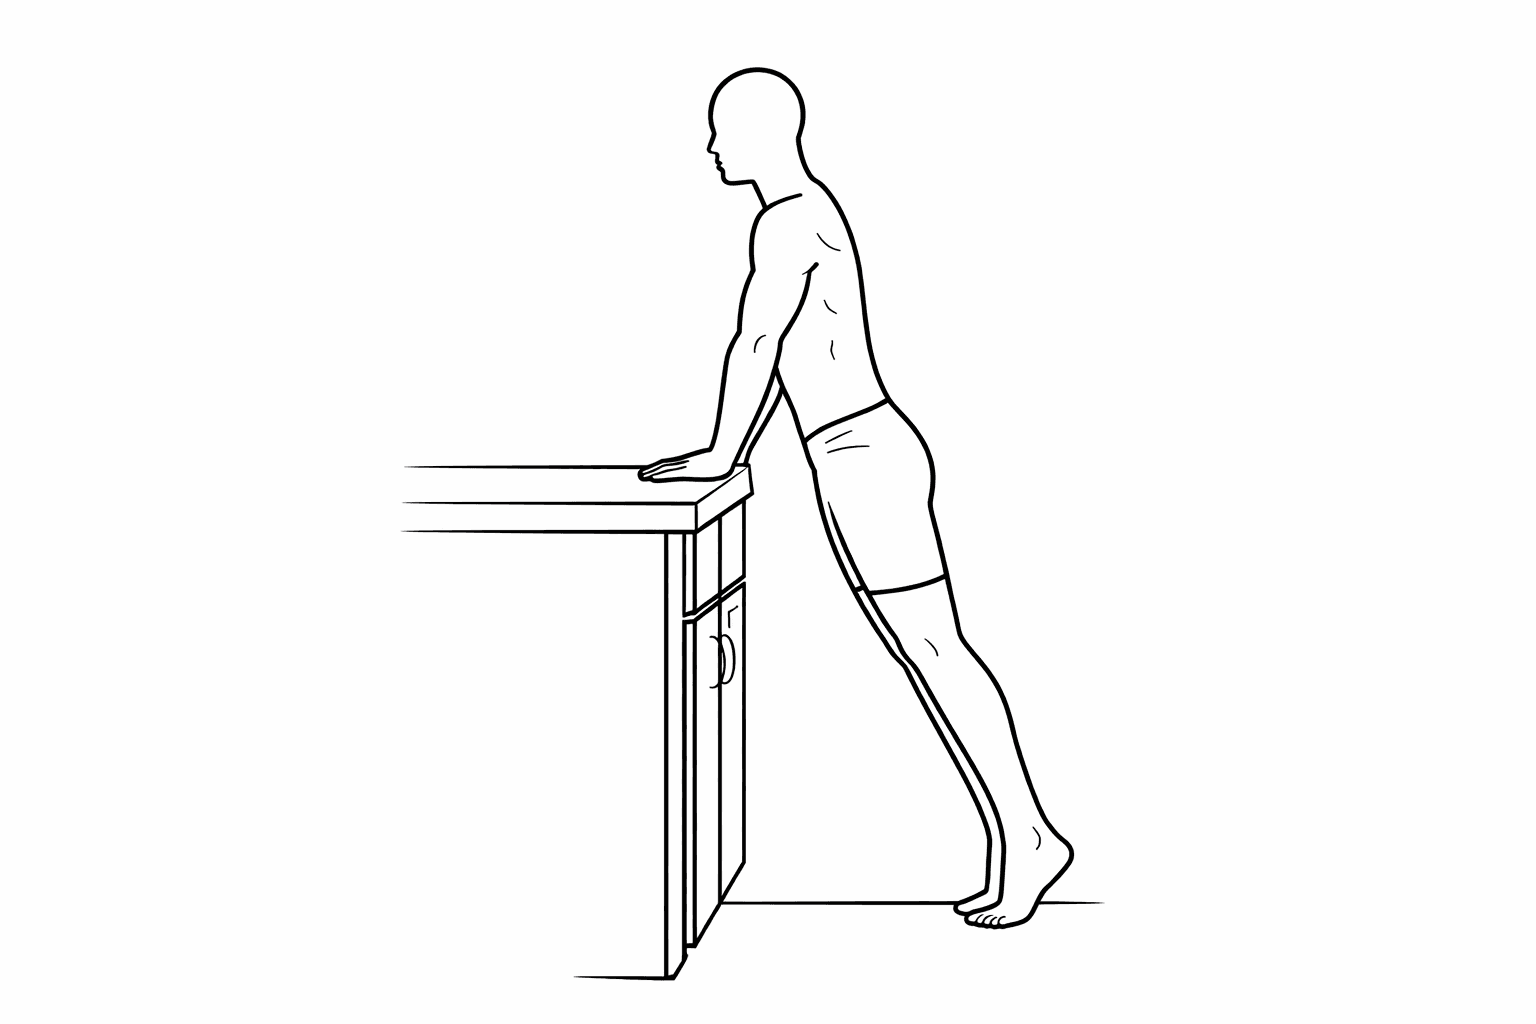
  • Bench / countertop decompression lean · As needed

    Optional relief: as needed. Lean forward, let the spine decompress

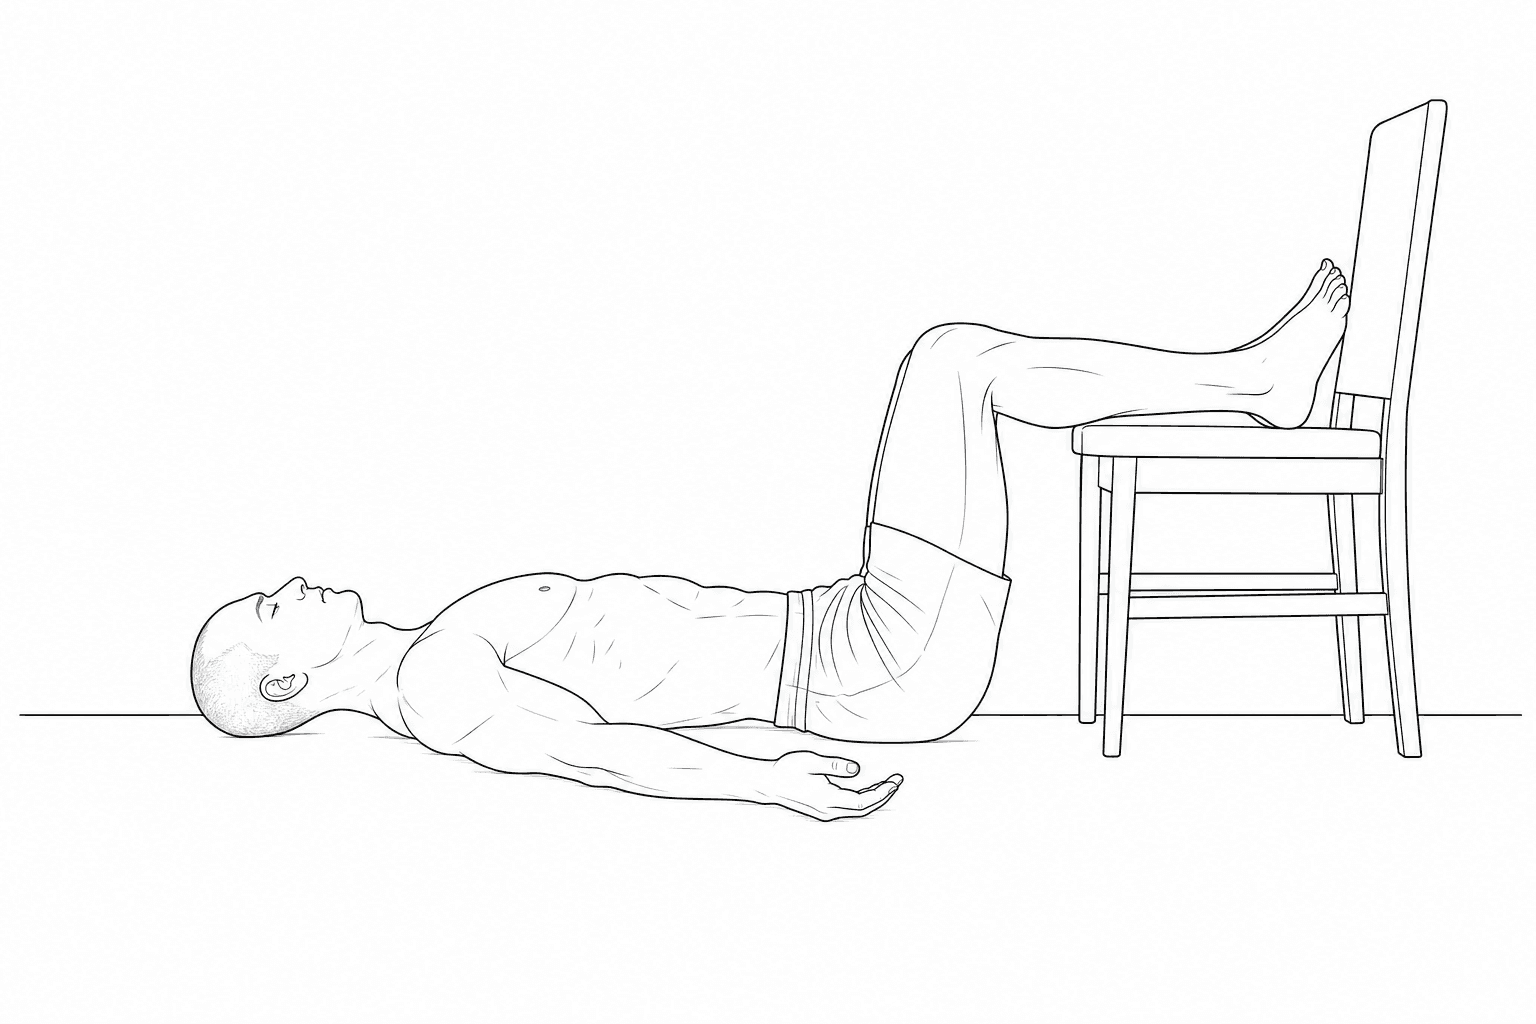
  • Floor 90-90 decompression · As needed

    Optional relief: lie on your back, calves up on a chair

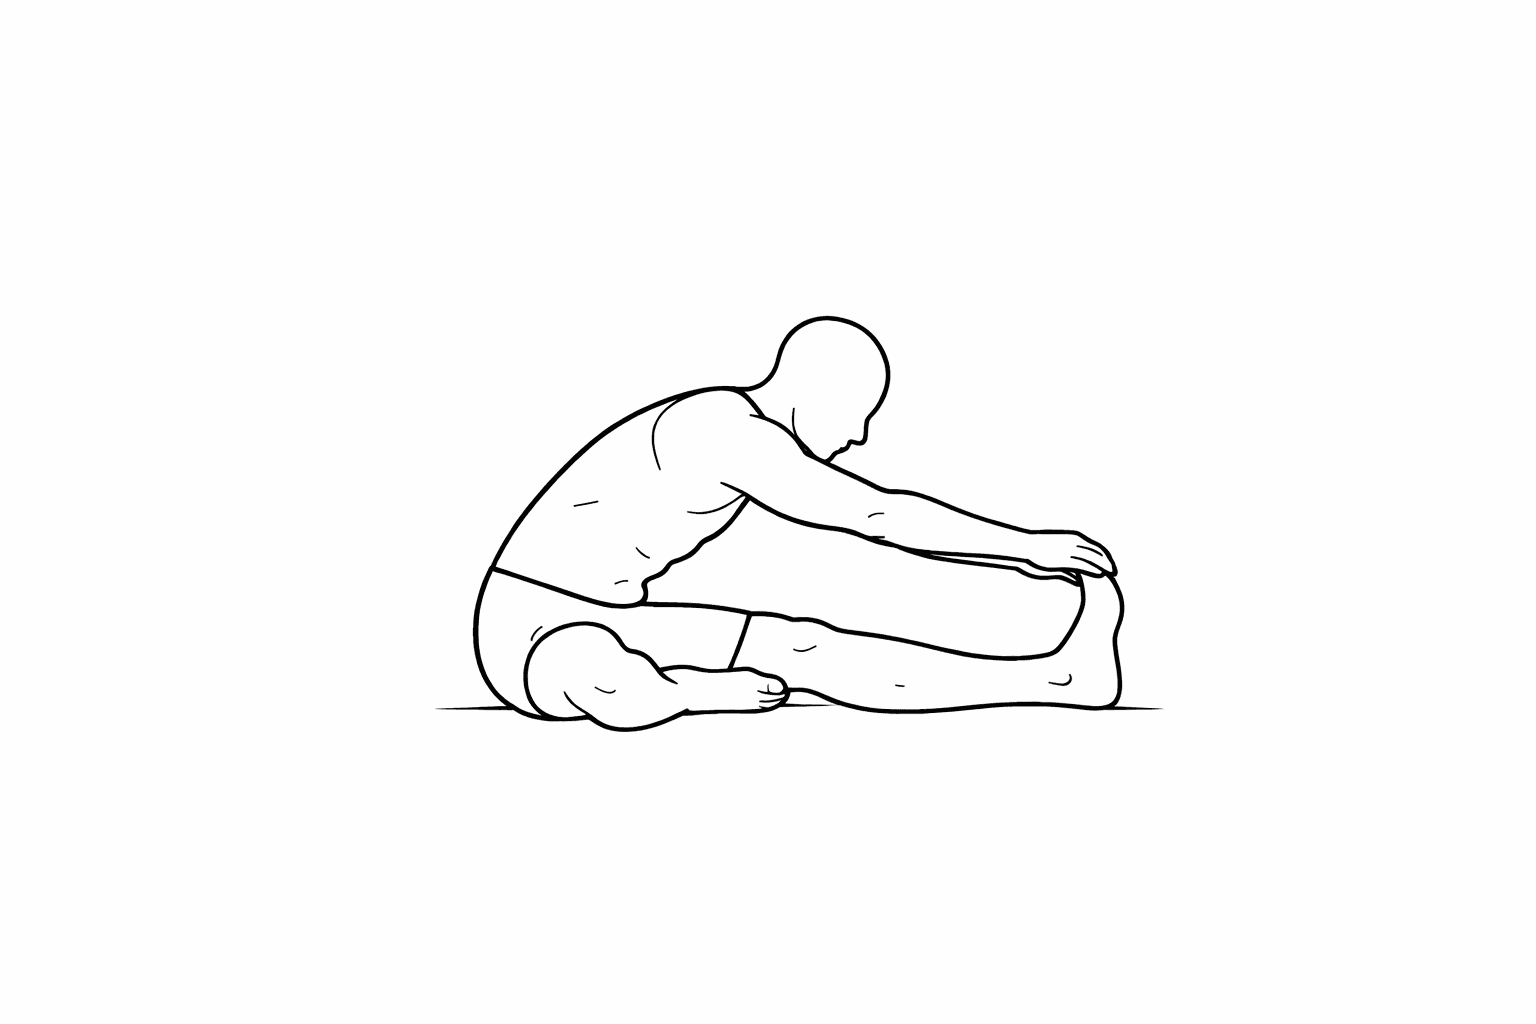
  • Seated hamstring stretch · 1 × 20-30s/side

    Optional: seated or standing, pick one. Flexion is relieving here

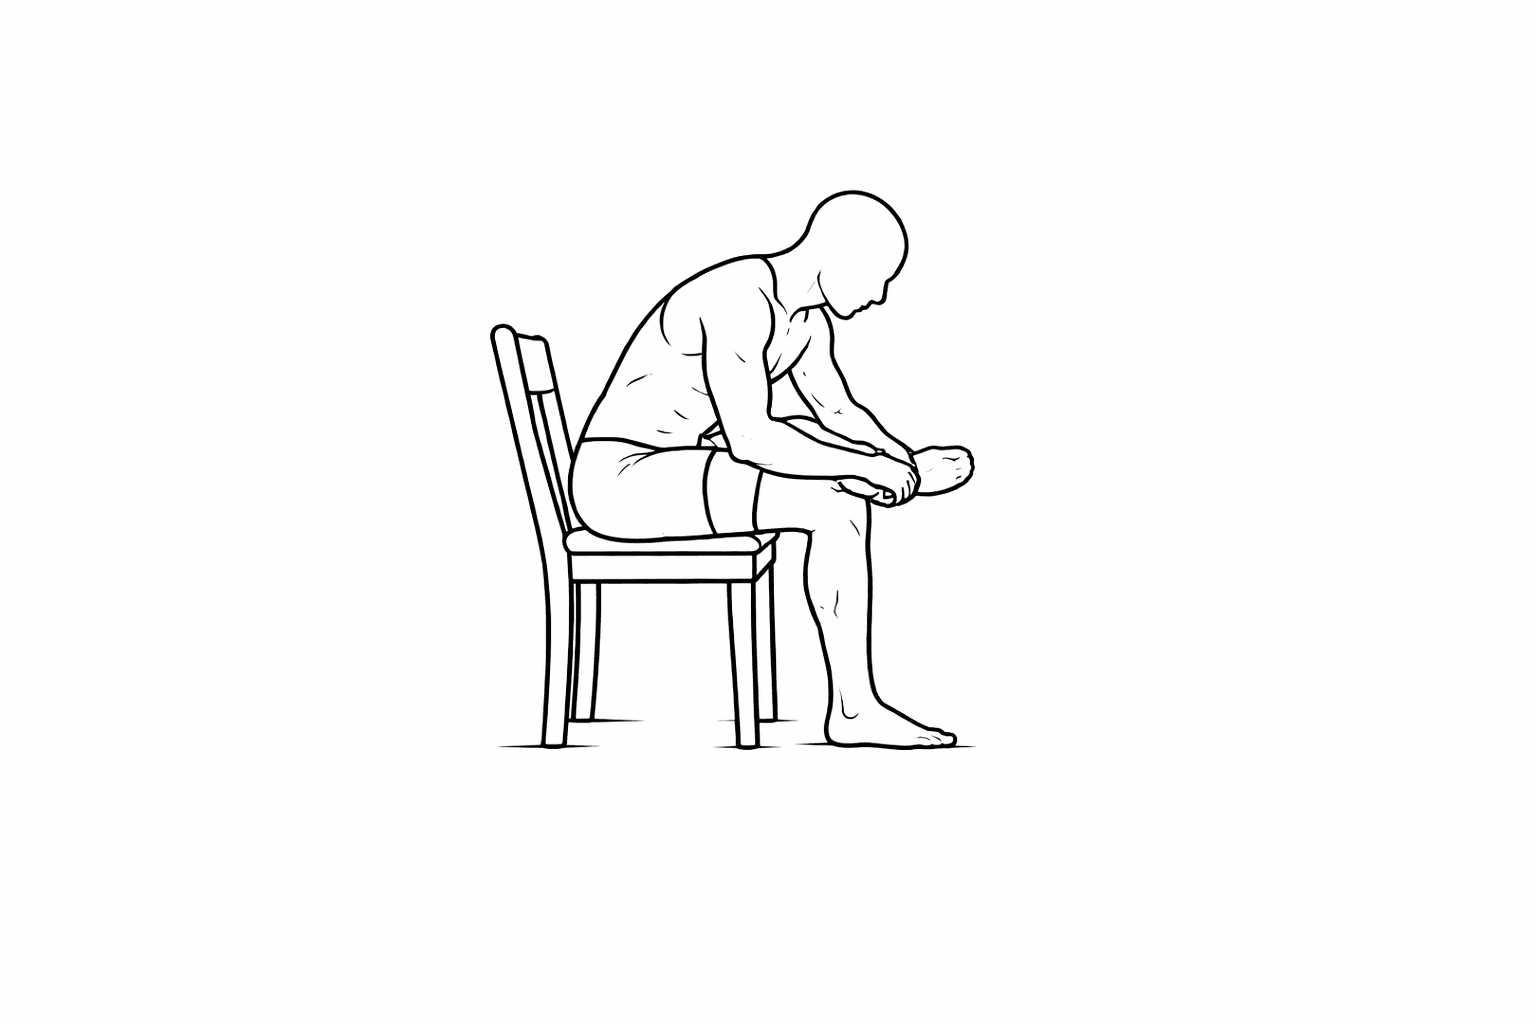
  • Figure-4/piriformis stretch · 1 × 20-30s/side

    Optional: seated or lying

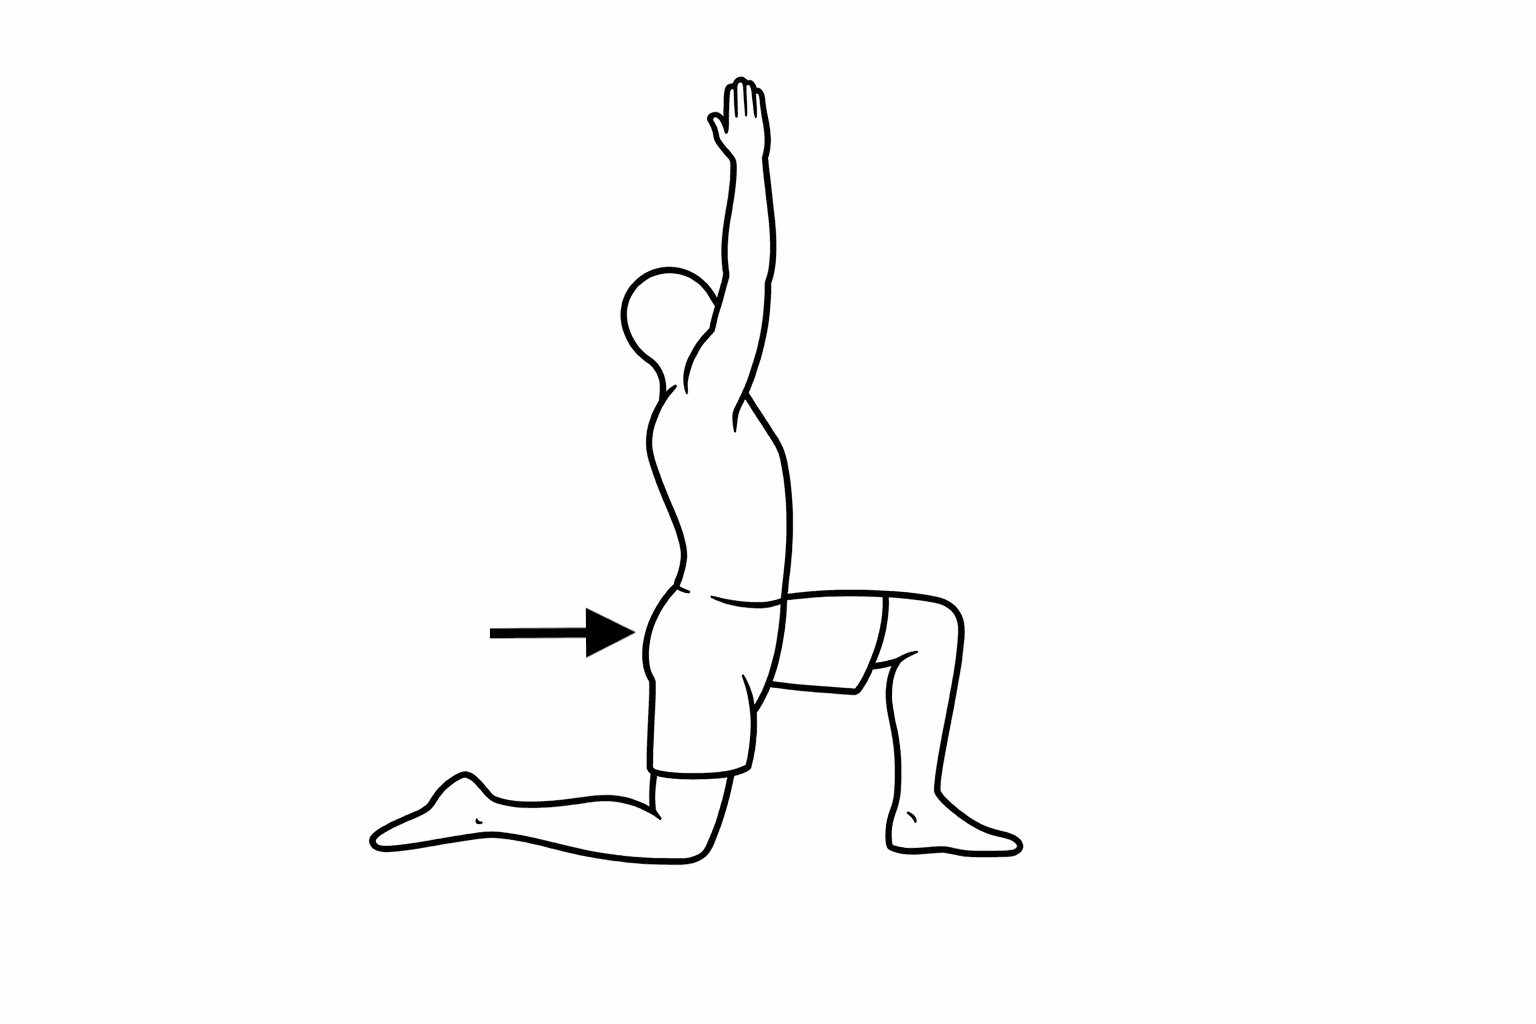
  • Hip flexor stretch (half-kneeling) · 1 × 20-30s/side

    Optional: emphasized. Don't arch your back, keep the pelvis tucked

  • Gentle mid-range cat-cow · 1 × 5-8 reps

    Optional: favour the flexion (cat) side, mid-range. No cow/extension

Something not feeling right?