Back Again Basics
Lifting and Load Program
For a back that tends to flare when you lift or carry heavy things, especially from the floor or away from your body.
92 sessions · 20 weeks · Free
Before you start
Red Flags: When to Stop and Seek Medical Care
Most back pain is manageable with the right approach. But there are specific symptoms that require immediate medical attention. These are non-negotiable. If you experience any of the following, see a doctor:
• New bladder or bowel problems (difficulty controlling either) • Numbness around the saddle/groin area • Rapidly worsening leg weakness • Unexplained fever, chills, or weight loss • Severe pain after a significant trauma • Feeling physically unsafe
These are rare, but they're serious. Everything else in this program assumes that red flags are not present. If any of these show up at any point, pause the program and get in-person care.
Every session has a “Does this hurt?” button. Tap it if something doesn’t feel right.
This educational content does not constitute medical advice. For diagnosis or treatment, please consult a clinician.
What this program focuses on
Your program front-loads core stability and hip hinge training from day one. The McGill Big 3 (curl-up, side plank, bird dog) are introduced early because they build the core endurance that protects your spine under load. Hip hinge practice runs through all four phases because it's the single most important movement skill for your pattern. We progressively introduce lifting tasks, starting light and building up, so your back gets used to handling load again in a controlled way.
All 92 sessions
Phase 1
Calm
Weeks 1-2 · 5 sessions/week · Walking 10 min → 12-15 min
Phase 2
Confident Foundations
Weeks 3-4 · 5 sessions/week · Walking 18-20 min → 20-25 min
Optional relief techniquesas needed
Give each of these a try if you haven’t already. Whichever ones become your favourites, do them as desired for extra relief.
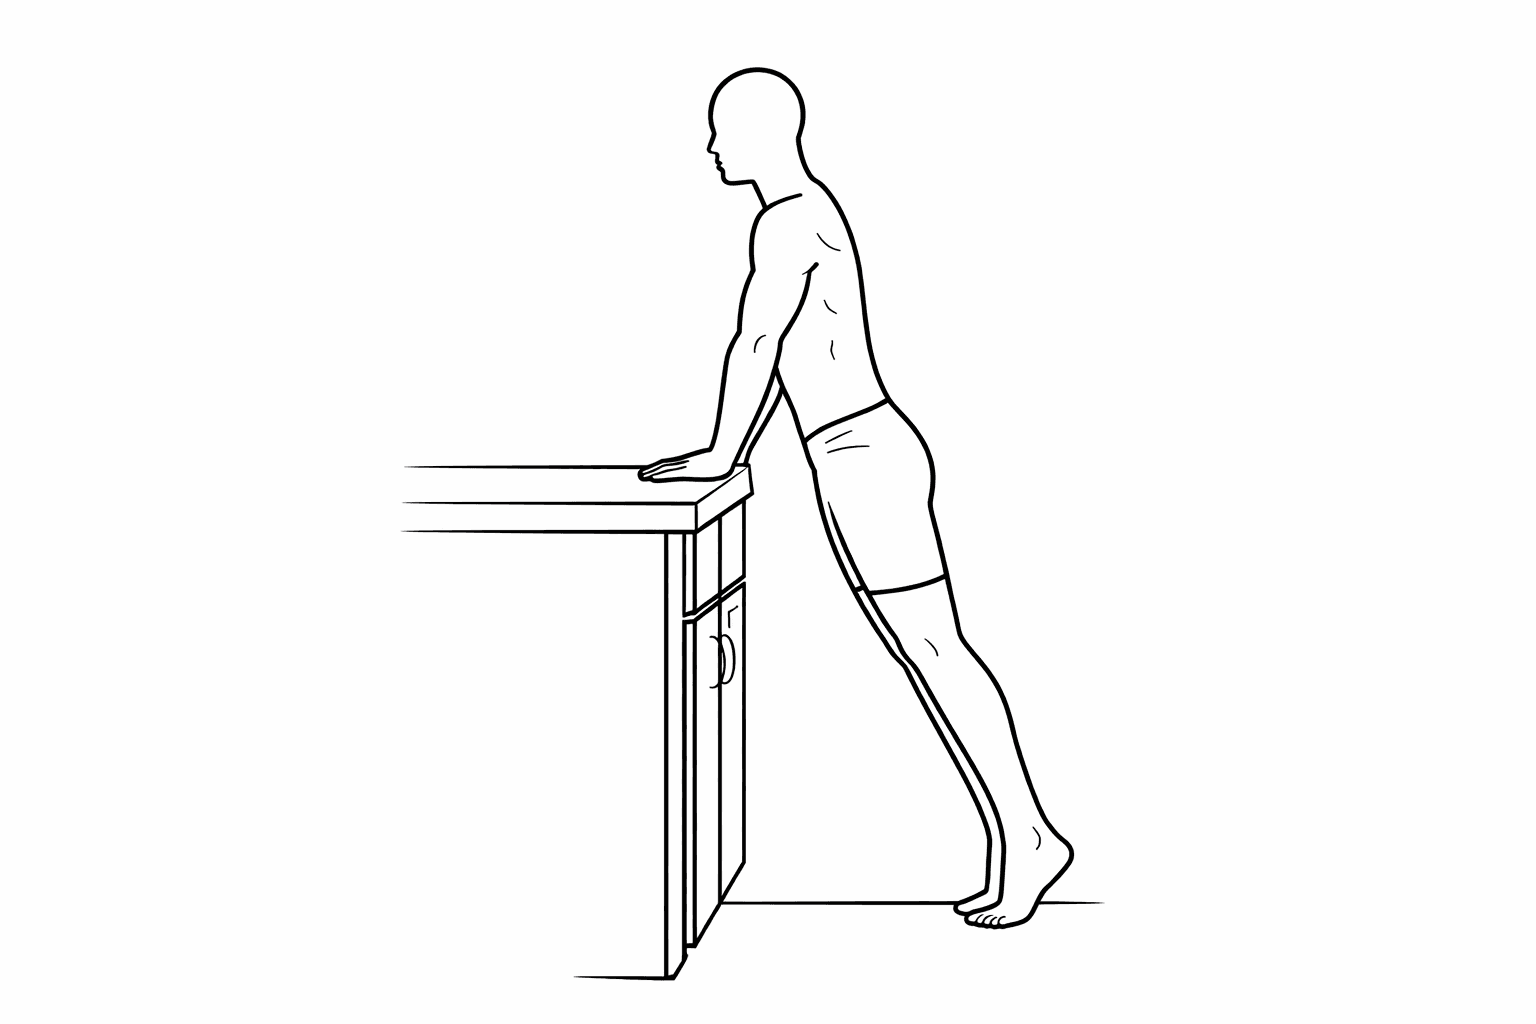
Bench / countertop decompression lean · As needed
Optional relief: as needed
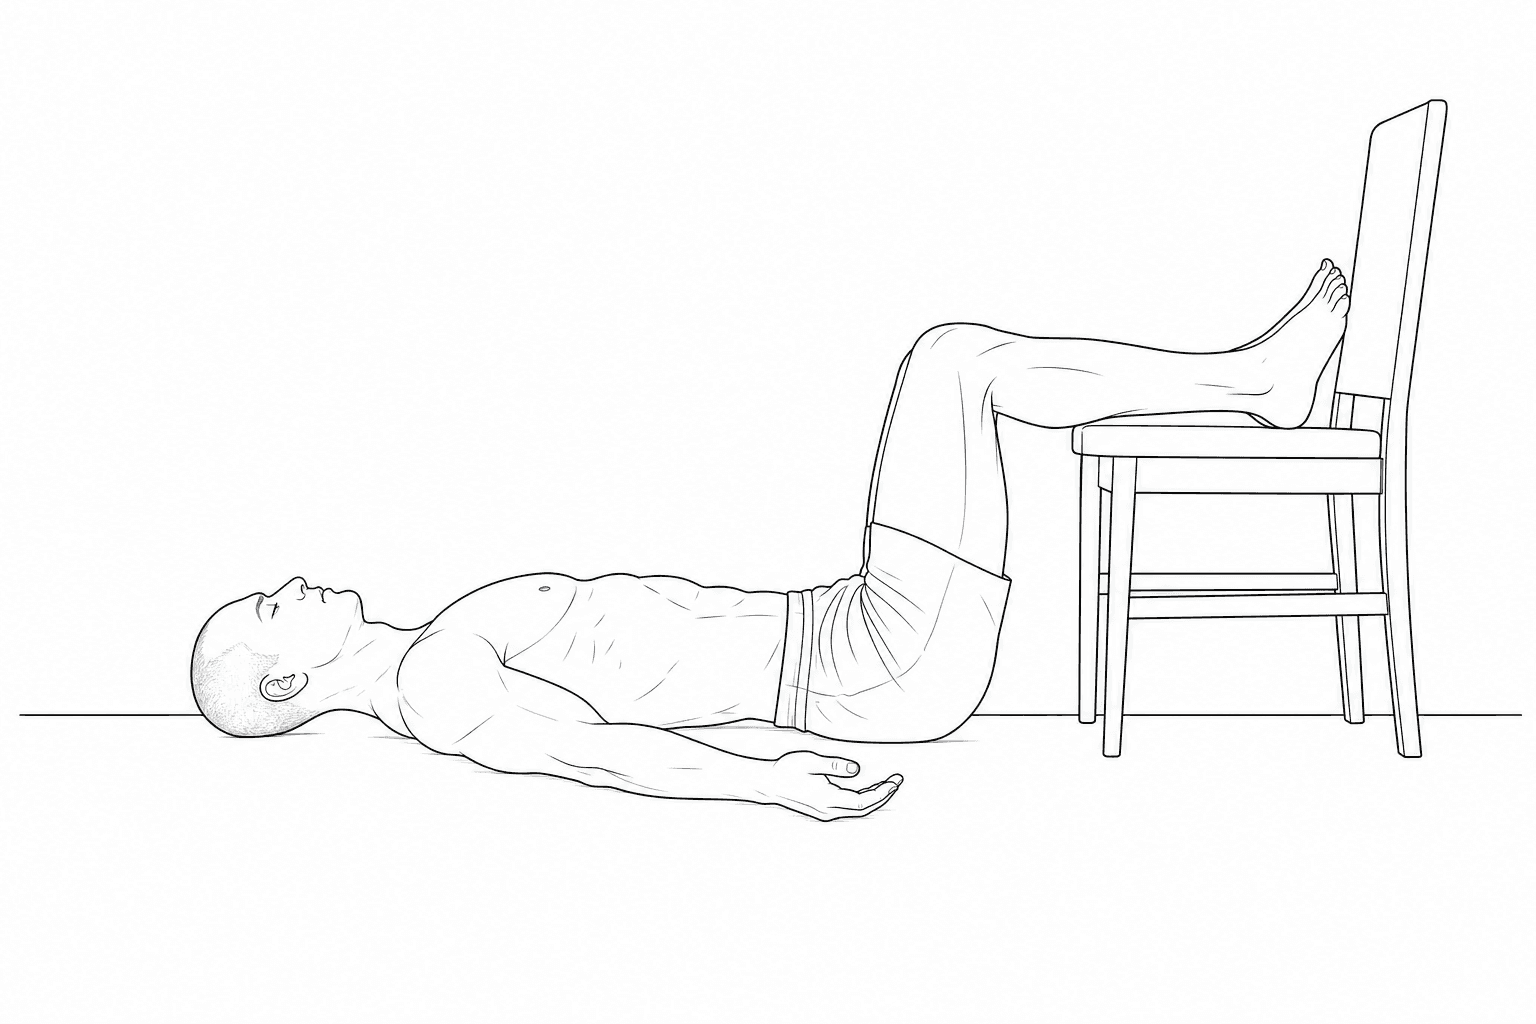
Floor 90-90 decompression · As needed
Optional relief: lie on your back, calves up on a chair
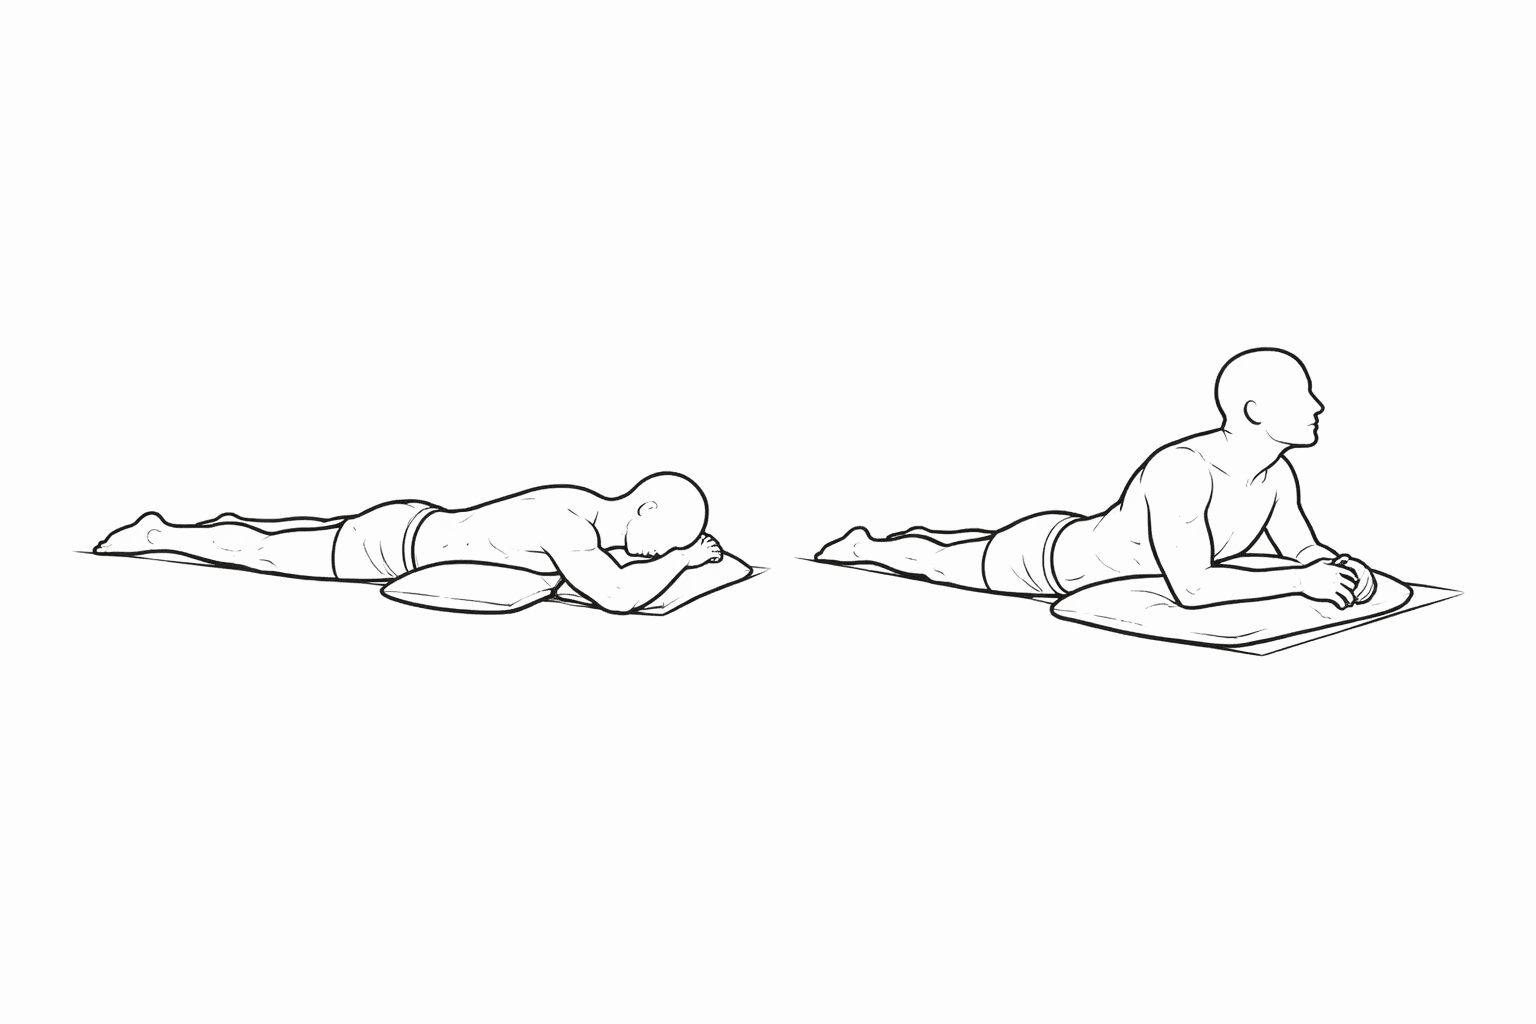
Prone tummy lying (relaxed) · As needed
Optional relief: as needed
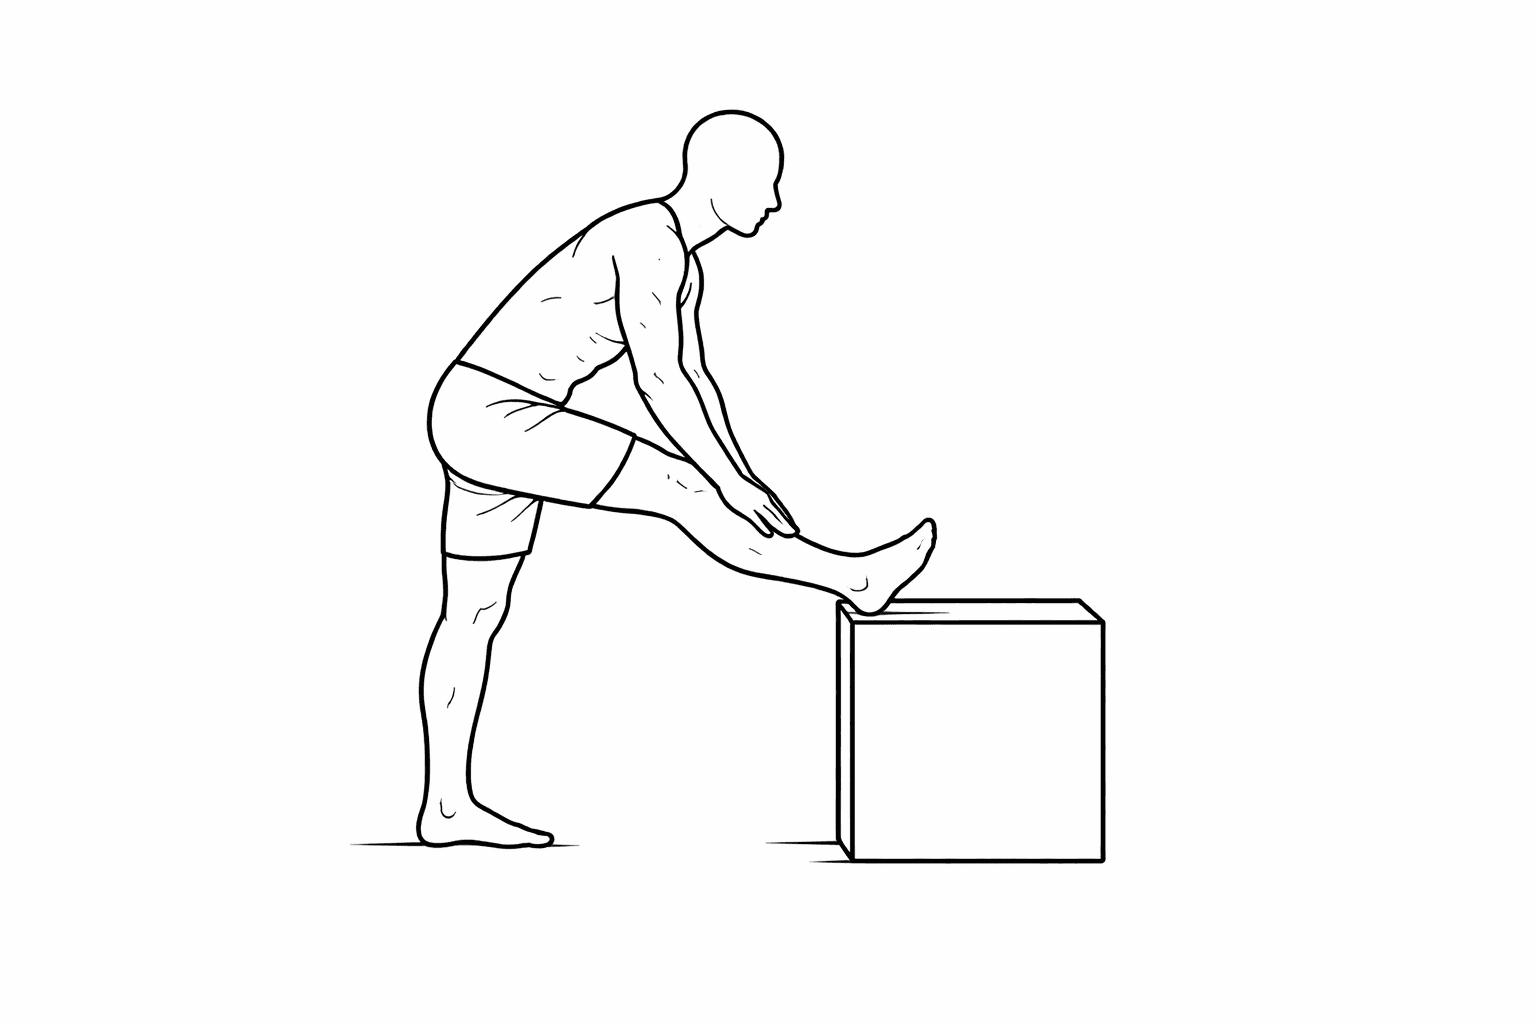
Standing hamstring stretch · 1 × 20-30s/side
Optional: skip if you have leg or nerve symptoms
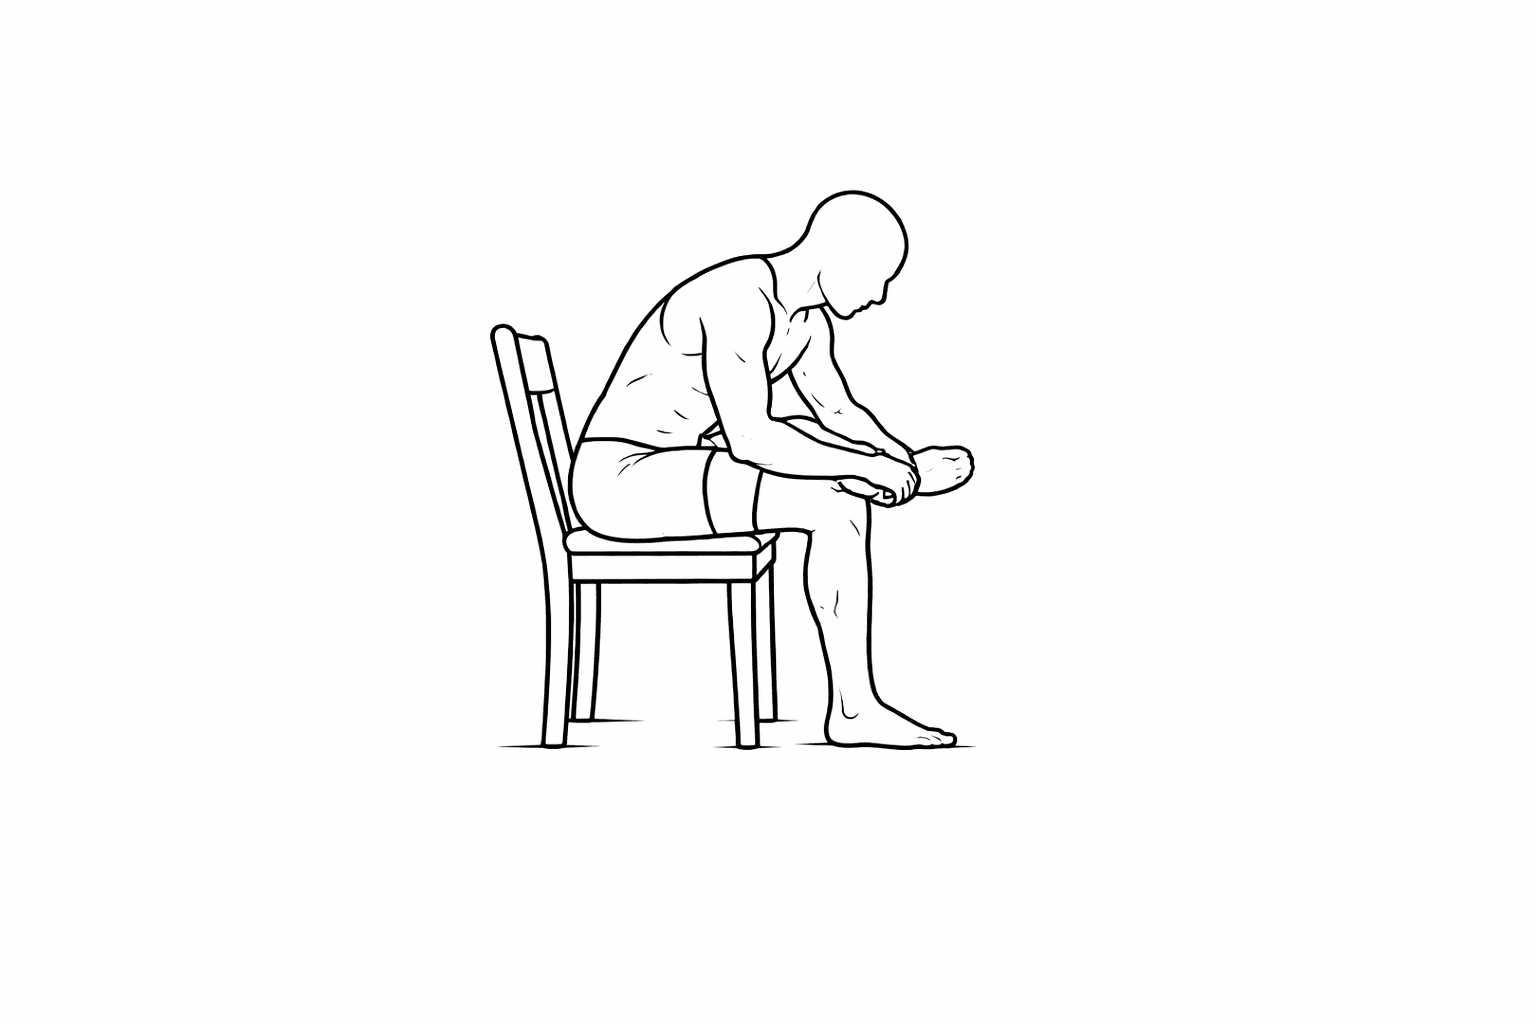
Figure-4/piriformis stretch · 1 × 20-30s/side
Optional
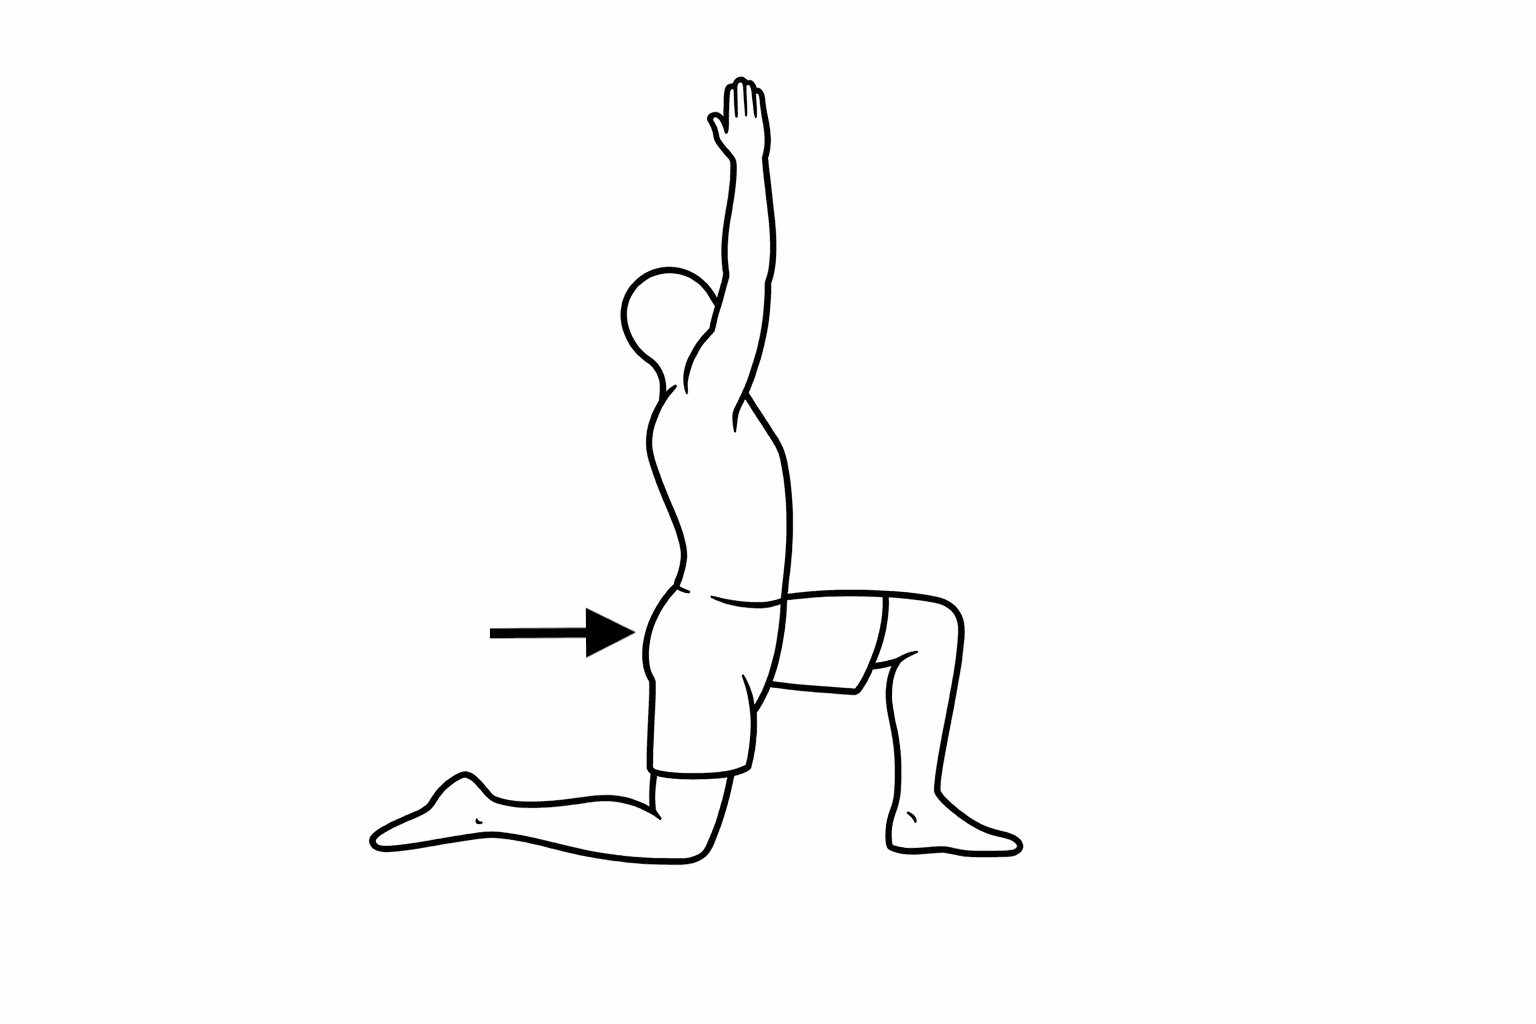
Hip flexor stretch (half-kneeling) · 1 × 20-30s/side
Optional: ribs down, don't arch
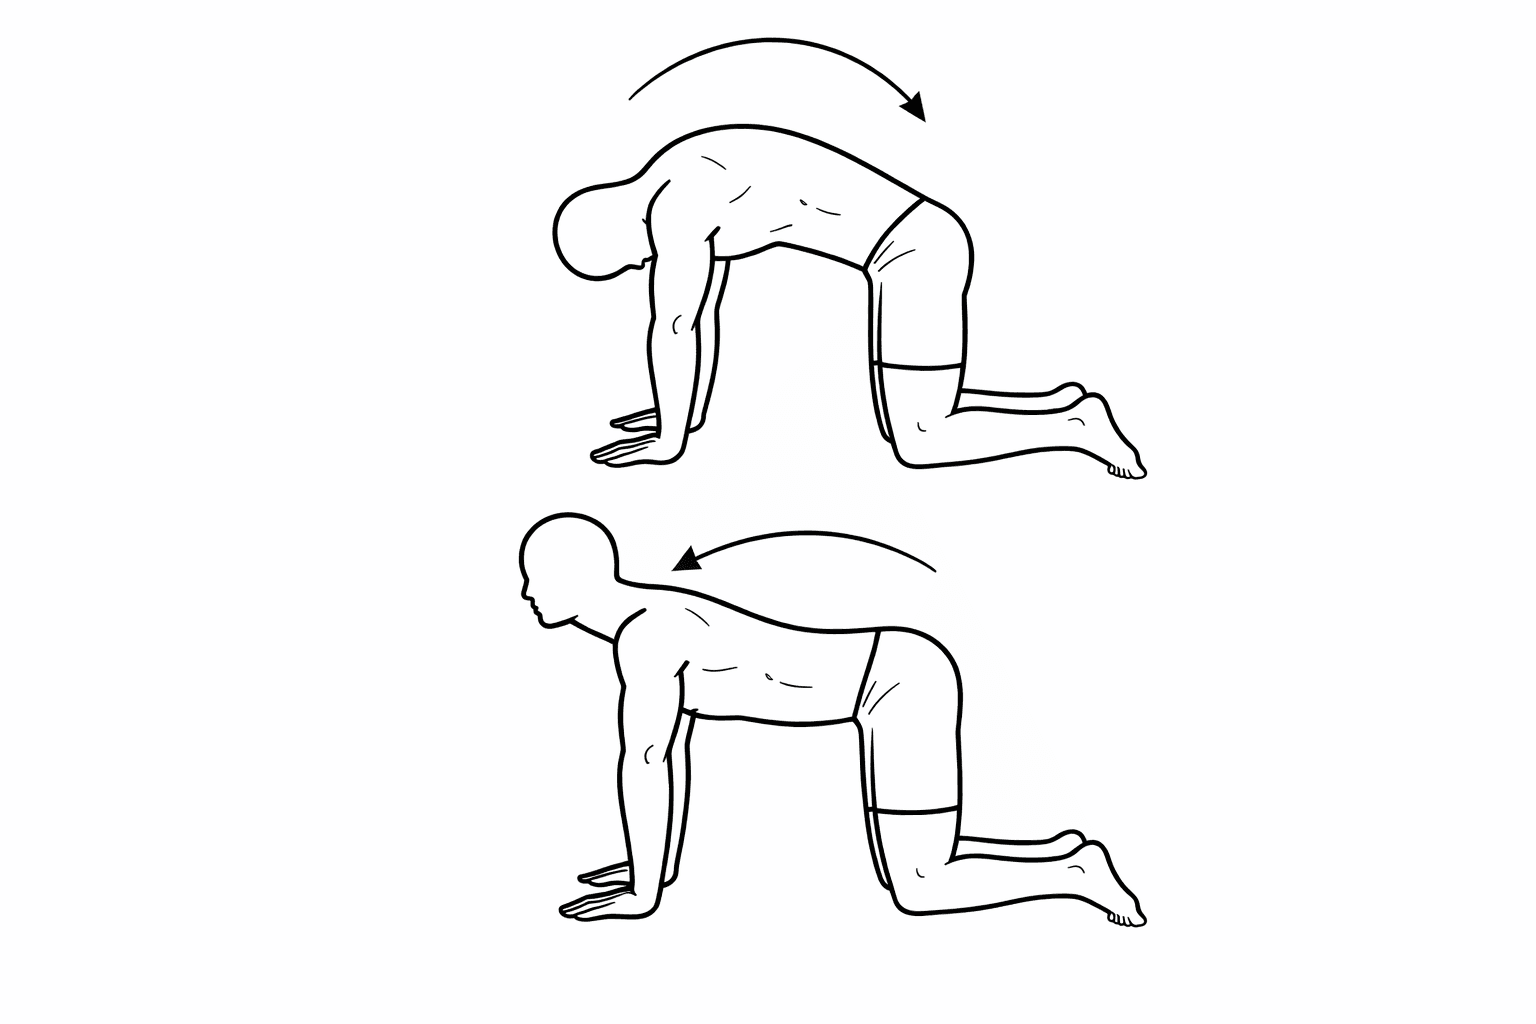
Gentle mid-range cat-cow · 1 × 5-8 reps
Optional
Phase 3
Strength & Resilience
Weeks 5-16 · 5 sessions/week · Walking 30 min
S = strength day · M = mobility day
Optional relief techniquesas needed
Give each of these a try if you haven’t already. Whichever ones become your favourites, do them as desired for extra relief.
Bench / countertop decompression lean · As needed
Optional relief: as needed
Floor 90-90 decompression · As needed
Optional relief: lie on your back, calves up on a chair
Prone tummy lying (relaxed) · As needed
Optional relief: as needed
Standing hamstring stretch · 1 × 20-30s/side
Optional: skip if you have leg or nerve symptoms
Figure-4/piriformis stretch · 1 × 20-30s/side
Optional
Hip flexor stretch (half-kneeling) · 1 × 20-30s/side
Optional: ribs down, don't arch
Gentle mid-range cat-cow · 1 × 5-8 reps
Optional
Phase 4
Maintenance
Weeks 17-20 · 3 sessions/week · Walking 30 min
Optional relief techniquesas needed
Give each of these a try if you haven’t already. Whichever ones become your favourites, do them as desired for extra relief.
Bench / countertop decompression lean · As needed
Optional relief: as needed
Floor 90-90 decompression · As needed
Optional relief: lie on your back, calves up on a chair
Prone tummy lying (relaxed) · As needed
Optional relief: as needed
Standing hamstring stretch · 1 × 20-30s/side
Optional: skip if you have leg or nerve symptoms
Figure-4/piriformis stretch · 1 × 20-30s/side
Optional
Hip flexor stretch (half-kneeling) · 1 × 20-30s/side
Optional: ribs down, don't arch
Gentle mid-range cat-cow · 1 × 5-8 reps
Optional